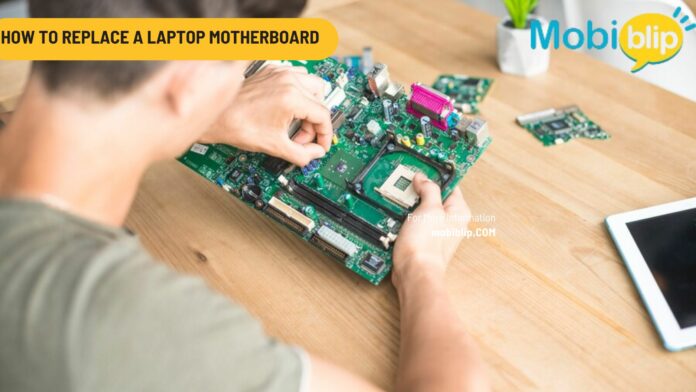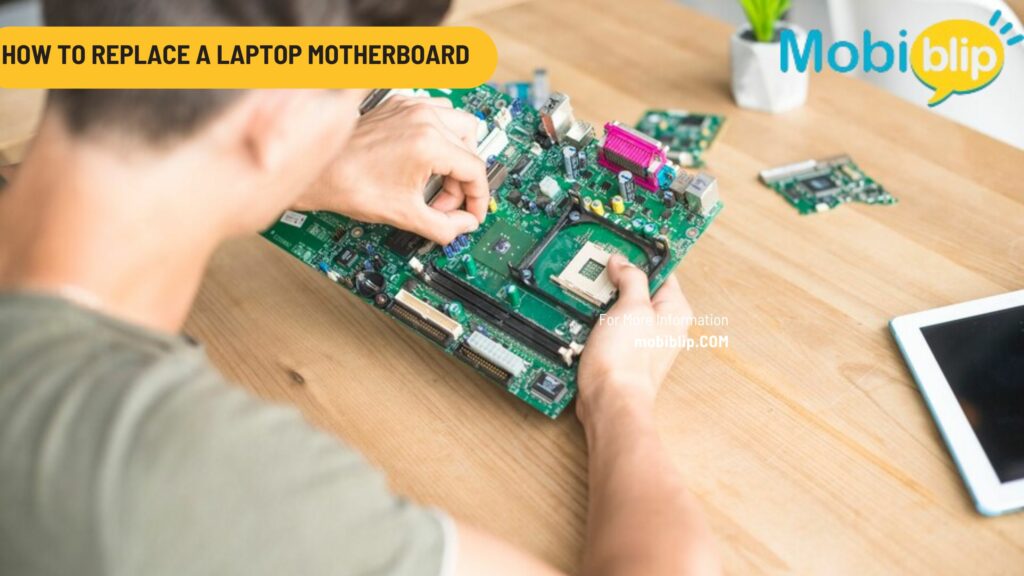
How to Replace a Laptop Motherboard: A Step-by-Step Guide

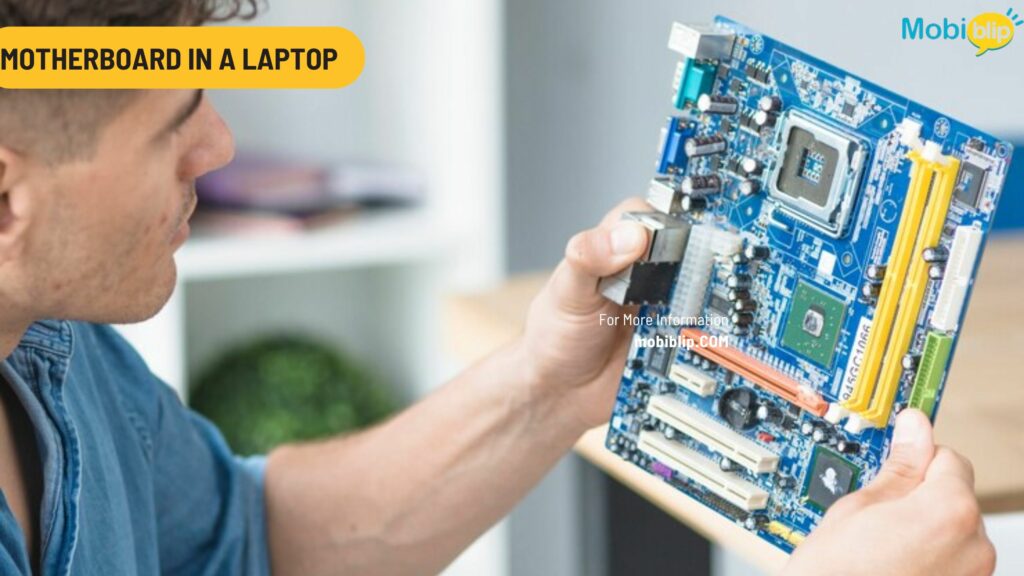
The motherboard is the central circuit board within your laptop, acting like its backbone. It’s responsible for connecting all the crucial components that make your laptop function, including:
- Central processing unit (CPU)
- Memory (RAM)
- Storage drives (hard disk drive (HDD) or solid-state drive (SSD))
- Graphics processing unit (GPU)
- Peripherals (like webcam, keyboard, USB devices)
The motherboard facilitates communication between these parts, ensuring everything works together seamlessly for you to use your laptop. In short, without a functioning motherboard, your laptop wouldn’t even boot up.
There are a few main reasons why you might need to replace or upgrade your laptop’s motherboard:
- Physical Damage: If your laptop suffers a spill or some other mishap that causes physical damage to the motherboard, like cracks or burns, it may malfunction or stop working entirely. In such cases, a replacement is necessary.
- Component Failure: Over time, individual components on the motherboard itself can fail. This could be the chipset, the power delivery system, or other parts. A failing component can lead to instability, crashes, or complete system failure. Replacing the motherboard may be the best solution.
- Outdated Technology: As laptops age, their motherboards may not support the latest processors, memory types, or storage options. This can limit your ability to upgrade your laptop’s performance. Upgrading the motherboard can breathe new life into an older laptop.
- Performance Enhancement: For performance enthusiasts, a higher-end motherboard can unlock features like overclocking, which pushes the CPU to run at higher speeds. This can be beneficial for demanding tasks like video editing or gaming.
Upgrading a motherboard can be more involved than other component upgrades, so it’s important to weigh the cost and effort involved against the benefits you’ll receive.
Where Is the Motherboard in a Laptop?

The motherboard in a laptop is typically found underneath the bottom case, which is the larger panel on the underside of the laptop. This panel usually has screws holding it in place. There can be some variation depending on the specific laptop model, but this is the most common location.
Important: Before attempting to access the motherboard yourself, it’s crucial to understand that you can void your laptop’s warranty and potentially damage components if you’re not comfortable doing so. It’s always recommended to consult your laptop’s manual or the manufacturer’s support website for specific disassembly instructions for your model.
However, generally, here’s a precautionary approach to accessing the motherboard:
- Power Down and Unplug: Completely turn off your laptop and disconnect it from any power source. This prevents electrical shock hazards.
- Ground Yourself: Ground yourself by touching a metal object that’s connected to earth ground, like a grounded outlet box screw. This helps to dissipate any static electricity that could damage sensitive components.
- Consult a Manual or Guide: Find a disassembly guide specific to your laptop model. This will show you the exact location of the screws and steps involved in safely removing the bottom case.
- Carefully Remove the Bottom Case: Once you have the proper instructions, use the appropriate tools (usually small screwdrivers) to remove the screws holding the bottom case in place. Be methodical and cautious not to damage the screws or the case itself.
- Identify the Motherboard: Once you remove the bottom case, the motherboard will be the largest circuit board you see within the laptop. It will be flat and populated with various electronic components like chips, connectors, and heatsinks.
Precautions Before Opening a Laptop Case
- Consider Warranty: If your laptop is still under warranty, opening the case might void it. Check the warranty terms before proceeding.
- Gather Tools: Make sure you have the proper tools for your specific laptop model, typically small screwdrivers or prying tools.
- Work in a Clean, Well-Lit Space: A clean and well-lit workspace minimizes the risk of losing small screws or damaging components.
- Take Pictures (Optional): Taking pictures during disassembly can be helpful for referencing when reassembling the laptop.
Remember, if you’re unsure about any step or feel uncomfortable opening your laptop, it’s best to seek help from a qualified technician. They have the expertise and tools to safely access and service your laptop’s motherboard.
How to Replace a Laptop Motherboard
Replacing a laptop motherboard is a complex procedure that requires technical knowledge and careful handling. Here’s a general breakdown of the steps involved, but it’s highly recommended to consult the specific service manual for your laptop model before attempting this yourself.
Tools You’ll Likely Need:
- Small screwdrivers (Phillips head and flathead)
- Anti-static wristband (optional but recommended)
- Opening tools (plastic spudgers or prying tools)
- Thermal paste (for reapplying to the CPU)
- Replacement motherboard (ensured compatibility with your laptop model)
Safety Precautions:
- Power Down and Unplug: Always ensure your laptop is completely off and disconnected from power before starting.
- Ground Yourself: Use an anti-static wristband or touch a grounded metal object to prevent static discharge damage.
- Work in a Clean, Well-lit Area: This minimizes the risk of losing small parts or damaging components.
- Organize Screws and Parts: Use separate containers for screws and parts from different sections of the laptop to avoid confusion during reassembly.
- Take Pictures (Optional): Taking pictures during disassembly can be a helpful reference for reassembly.
General Steps (Following the service manual is crucial):
- Disassemble the Laptop: Following the service manual, carefully remove the bottom case, keyboard, battery, display panel, and other components to expose the motherboard.
- Disconnect Cables: Meticulously detach all cables connecting the motherboard to other components like the display, storage drives, and power supply.
- Unscrew the Motherboard: Remove the screws that hold the motherboard in place.
- Remove the CPU (if necessary): Depending on the motherboard design, you may need to carefully remove the CPU from its socket.
- Replace the Motherboard: Carefully install the new motherboard, ensuring proper alignment with screw holes and connectors.
- Reconnect Cables: Following the service manual, meticulously reconnect all cables to the new motherboard.
- Reinstall the CPU (if necessary): Following the manufacturer’s instructions, carefully reapply thermal paste to the CPU and reinstall it in its socket on the new motherboard.
- Reassemble the Laptop: Reverse the disassembly steps to put the laptop back together, carefully reinstalling all components and screws.
- Test Functionality: Once reassembled, connect your laptop to power and try turning it on.
Common Challenges and How to Overcome Them:
- Improper Disassembly: Following a service manual meticulously is crucial to avoid damaging components during disassembly and reassembly.
- Losing Small Screws: Using separate containers for screws from different parts helps to keep them organized and avoid losing any.
- Incorrect Cable Reattachment: Double-check the service manual to ensure all cables are reconnected to the correct ports on the new motherboard.
- Thermal Paste Application: Improper thermal paste application can lead to overheating issues. Ensure you follow the manufacturer’s instructions for applying the correct amount of paste.
Remember: This is a general overview, and the specific steps will vary depending on your laptop model. If you’re not comfortable with any part of the process, it’s best to consult a qualified computer technician to replace the motherboard for you.
Buying a New Laptop Motherboard
Replacing a laptop motherboard requires finding a compatible replacement specific to your model. Here are key factors to consider when purchasing a new one:
- Compatibility: This is paramount. Ensure the motherboard you buy is explicitly designed to work with your laptop model. A mismatch can lead to malfunctioning or even damage other components.
- Model Number: Look for the exact model number of your current motherboard. This information is usually printed on a sticker on the motherboard itself. You can also find it in your laptop’s manual or by searching online using your laptop model number and keywords like “motherboard schematic” or “service manual.”
- Brand (Optional): While not always crucial, some users prefer to stick with the original manufacturer’s brand for motherboards. However, compatible third-party options can also be good choices.
- Features (Optional for replacements): If you’re looking to upgrade performance beyond a straight replacement, some motherboards may offer features like overclocking support for the CPU. Double-check compatibility with your CPU model as well.
Finding the Right Motherboard
- Manufacturer’s Website: Check your laptop manufacturer’s website for parts and upgrades. They might sell compatible motherboards directly.
- Service Manual: Your laptop’s service manual will often list compatible replacement part numbers for the motherboard.
- Online Retailers: Several online retailers specialize in laptop parts. Search using your laptop model number and “motherboard replacement.” Be sure the retailer has a good reputation and offers return policies in case of incompatibility.
Price and Where to Buy
Laptop motherboards can range in price from $100 to $500 or more, depending on the brand, features, and model. Here are common places to purchase them:
- Online Retailers: Major online retailers like Amazon or Newegg often carry a wide selection of laptop parts.
- Computer Parts Stores: Local computer parts stores may stock motherboards for popular laptop models.
- Laptop Repair Shops: Laptop repair shops may sell replacement motherboards and might even install them for you.
Warning: Avoid Counterfeits!
Be cautious of suspiciously cheap motherboards, especially from unfamiliar online retailers. There’s a higher chance of them being counterfeits or substandard parts that could malfunction or damage your laptop. Stick to reputable retailers and verify the motherboard’s model number and compatibility before purchasing.
In Crux
Replacing a laptop motherboard can be a challenging task.
While replacing a laptop motherboard can be a complex task, understanding the process and the importance of a compatible replacement can help you make informed decisions about repairs or upgrades. If you’re unsure or uncomfortable proceeding yourself, a qualified computer technician can be a valuable resource to keep your laptop running smoothly.
How much did you like our detailed How to Replace a Laptop Motherboard: A Complete Guide? Also, please share these Blogs with your friends on social media.
Related Blogs


